Voxel engine and LibGDX – Meshes
Before reading this you should have some basic knowledge of what a mesh is and how LibGDX works. This blog post is a good introduction.
The most basic optimization
In my previous post I said that using a game engine or library API method to create a box will not work very well when building a Minecraft like voxel engine. It doesn’t matter if you use LibGDX or Unity3D.
So why is that?
The problem is that those methods are creating a mesh of every box you create. After adding a few 100s of those the GPU starts to having problems rendering all those and keep up the FPS. The other issue is that it’s creating a box with 6 sides. So what is the problem with that? Lots of those sides will not be visible and will just use GPU-power drawing something that never will be visible.
Not visible?
Let’s imagine two boxes side by side sitting on the ground. How many sides do you actually see? First of all the bottom sides will never be visible. Secondly the left of one box and right side of the other box will not be visible either since they are placed side by side.
So what is the solution?
- Merge multiple boxes into one mesh.
- Don’t draw sides that aren’t visible.
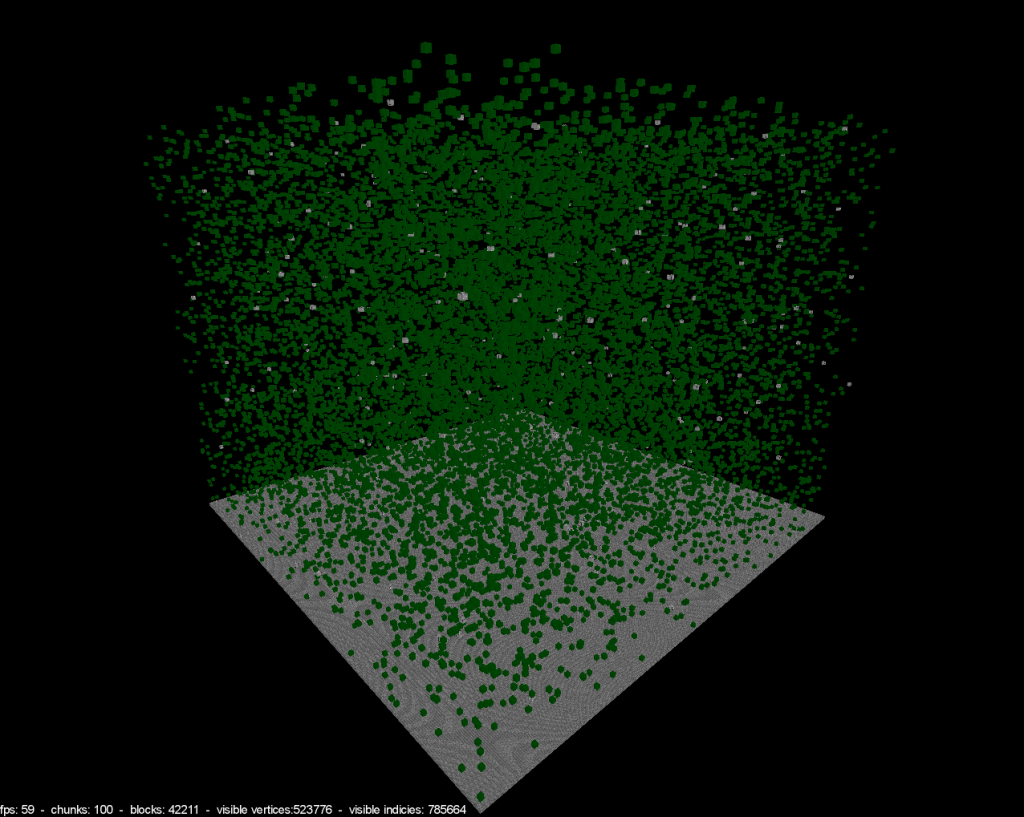
There you have it. This is the most basic optimization we can do and just these two things will raise the performance a lot. Look at the screenshot at the top of this post. What you see there is over 42.000 boxes on the screen but the frame rate is still 60fps. No matter how much I move around.
Please show me how this is done (in LibGDX)
I have chosen LibGDX because it’s a very good library providing lot of helping methods whilst still gives freedom to code “however you want.”. The library also have a very nice community with an IRC-channel where some of the developers participate in. The projects can also be cross compiled and works on Desktop, Android, iOS and even HTML5 in a browser.
So where do we start?
This will not be a tutorial with step by step instructions. I have created a git-repository where I will share my source into. I’m currently in the process of rewriting the code I wrote before christmas last year and it’s this new code I will share and in these blog posts I will describe the important points.
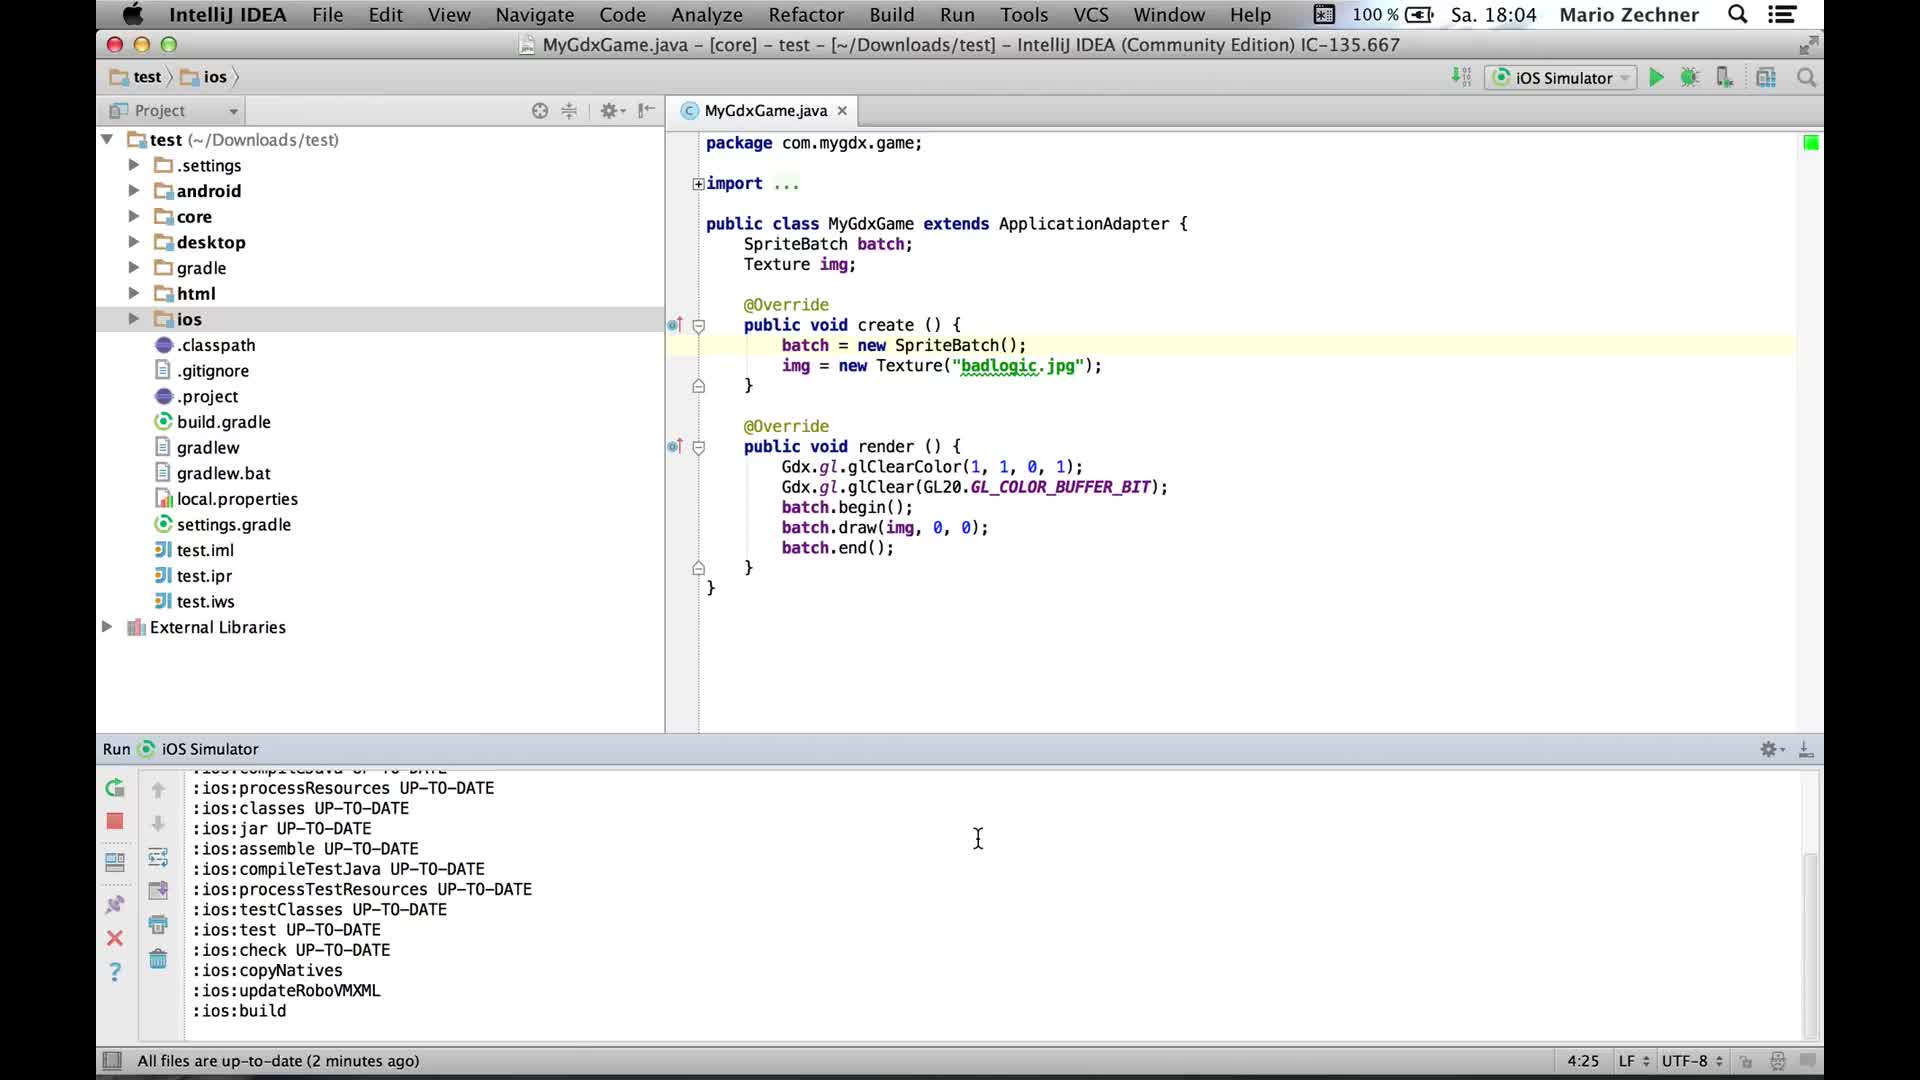
My project is a LibGDX project for IntelliJ. It’s using gradle for the build process so all dependencies will be downloaded automatically on the first build. The following video has instructions about LibGDX, gradle and Intellij:
Chunk
I will describe this in more detail in a later post but to get something to show on the screen I need a basic chunk. A chunk is a data model describing a little piece of the world. In this case a piece that is 16x128x16 blocks big. The chunk contains a multi dimensional array map representing [y][x][z]. The data we store here is one byte for each block. 0 being air. 1->255 is other block types.
map = new byte[Terrain.HEIGHT][Terrain.WIDTH][Terrain.WIDTH];The chunk is also divided into a multiple meshes that are 16x16x16 big. So in total 8 meshes for each chunk split on the y-axis
When the chunk is created the map is filled with data. In this first example all we do is setting a solid ground (at y=0) and then fill the rest with random data.
Random random = new Random();

for (int x = 0; x < Terrain.WIDTH; x++) {
    for (int y = 0; y < Terrain.HEIGHT; y++) {
        for (int z = 0; z < Terrain.WIDTH; z++) {

            if (y == 0) {
                setBlock(x, y, z, (byte) 2);
            }
            if (y > 0) {
                if (random.nextFloat() < 0.005) {
                    setBlock(x, y, z, (byte) 1);
                }
                if (random.nextFloat() < 0.0001) {
                    setBlock(x, y, z, (byte) 6);
                }
            }
        }
    }
}
A chunk can be recalculated. What this means is that when we change any of the bytes in the map it needs to recreate the meshes. (And later recalculate the lights and collision layers).
Terrain
A terrain is basically a collection of chunks but instead of being just a collection it’s a own class. It will be filled with more functionality later.
VoxelMesh/BoxMesh
It’s in BoxMesh the magic happens. VoxelMesh is just a class extending BoxMesh with some functionality for voxels.
When a chunk rebuilds it will modify a VoxelMesh by looping trough the map of blocks and adding them block by block.
In Chunks rebuild method:
for (int y = 0; y < Terrain.HEIGHT; y++) {
            VoxelMesh voxelMesh = meshes.get((int) Math.floor(y / 16));
            for (int x = 0; x < Terrain.WIDTH; x++) {
                for (int z = 0; z < Terrain.WIDTH; z++) {
                    byte block = map[y][x][z];
                    if (block == 0) continue; // Skip air blocks since they are..  air..
                    voxelMesh.addBlock(position, x, y, z, Chunk.this, block);
                    toRebuild.add(voxelMesh);
                }
            }
        }
For every block that gets added we do a check if there is a neighbor block existing in each direction. So if we are about to add the bottom side of the box we check if there is something below. If there is a block below we skip adding this side.
if (chunk.doesBlockExist(x, y - 1, z)) {
     addBottom(block);
 }
When a side is added it’s creating the vertices needed. One single side of a block requires 4 vertices. Every vertex contains the following information:
[ point.x, point.y, point.z,
textureCoord.u, textureCoord.v,
normalMapping for each point,
light for each point]
void addBottom(int texture) {
    Vector2[] texCoords = TextureUtils.calculateUVMapping(texture, ATLAS_WIDTH, ATLAS_WIDTH);
    int vertexOffset = vertices.size / 12;
    vertices.addAll(
            points[5].x, points[5].y, points[5].z, texCoords[0].x, texCoords[0].y, bottomNormal[0], bottomNormal[1], bottomNormal[2], lightFloat[0], lightFloat[1], lightFloat[2], lightFloat[3],
            points[4].x, points[4].y, points[4].z, texCoords[1].x, texCoords[1].y, bottomNormal[0], bottomNormal[1], bottomNormal[2], lightFloat[0], lightFloat[1], lightFloat[2], lightFloat[3],
            points[1].x, points[1].y, points[1].z, texCoords[2].x, texCoords[2].y, bottomNormal[0], bottomNormal[1], bottomNormal[2], lightFloat[0], lightFloat[1], lightFloat[2], lightFloat[3],
            points[0].x, points[0].y, points[0].z, texCoords[3].x, texCoords[3].y, bottomNormal[0], bottomNormal[1], bottomNormal[2], lightFloat[0], lightFloat[1], lightFloat[2], lightFloat[3]);

    indicies.addAll((short) (vertexOffset), (short) (1 + vertexOffset), (short) (2 + vertexOffset), (short) (2 + vertexOffset), (short) (3 + vertexOffset), (short) (vertexOffset));
}
Where does the points come from? They are created from the location of the box. One box has 8 points in 3D-space (every corner) and the side mesh we are creating is created by two triangles and thats what we store into the indicies. (first three entries is the first triangle and the last three is the second triangle). This site explains a bit more about verticies and indicies for a box mesh.
static final float SIZE = 1f;
// Creates the 8 vector points that exists on a box. Those will be used to create the vertex.
points[0] = pointVector0.set(x, y, z + SIZE);
points[1] = pointVector1.set(x + SIZE, y, z + SIZE);
points[2] = pointVector2.set(x + SIZE, y + SIZE, z + SIZE);
points[3] = pointVector3.set(x, y + SIZE, z + SIZE);
points[4] = pointVector4.set(x + SIZE, y, z);
points[5] = pointVector5.set(x, y, z);
points[6] = pointVector6.set(x, y + SIZE, z);
points[7] = pointVector7.set(x + SIZE, y + SIZE, z);
Finally we have a rebuild process here too. What that is doing is creating a LibGDX mesh of our vertex data which we finally can send down to the render process.
private void rebuild() {
             v = vertices.toArray();
             i = indicies.toArray();
             mesh = null;
             mesh = new com.badlogic.gdx.graphics.Mesh(true, 4 * (vertices.size / 12), 6 * indicies.size, VertexAttribute.Position(), VertexAttribute.TexCoords(0), VertexAttribute.Normal(), VertexAttribute.ColorUnpacked());
             mesh.setVertices(v);
             mesh.setIndices(i);
         }
 }
VoxelRender
This class implement a LibGDX RenderableProvider which has a method called getRenderables. This method is called every frame update! so we can’t do any fancy in here. Basically it’s just picking up the Mesh we created in the rebuild process of the VoxelMesh and returns that in a Renderable object.
@Override
 public void getRenderables(Array<Renderable> renderables, Pool<Renderable> pool) {
     for (Chunk chunk : terrain.getChunks()) {
         Collection<VoxelMesh> meshes = chunk.getMeshes();
         for (BoxMesh boxMesh : meshes) {
             if (boxMesh != null && boxMesh.getMesh() != null) {
                 Mesh mesh = boxMesh.getMesh();
                 Renderable renderable = pool.obtain();
                 renderable.material = material;
                 renderable.meshPartOffset = 0;
                 renderable.meshPartSize = mesh.getNumIndices();
                 renderable.primitiveType = GL20.GL_TRIANGLES;
                 renderable.mesh = mesh;
                 renderables.add(renderable);
                 renderable.worldTransform.set(boxMesh.getTransform());
             }
         }
     }
 }
VoxelScreen
This contains a bunch of setup methods that creates instances of various things that we need. (A terrain, the camera, some basic environment lightning) and finally the actual rendering process.
The render method is called every frame update. (so that is 60 times each second). We are using a LibGDX ModelBatch to take care of the rendering and what do we pass into this modelBatch? Our VoxelRender off course! So from here it’s up to LibGDX to do all the OpenGL magic needed.